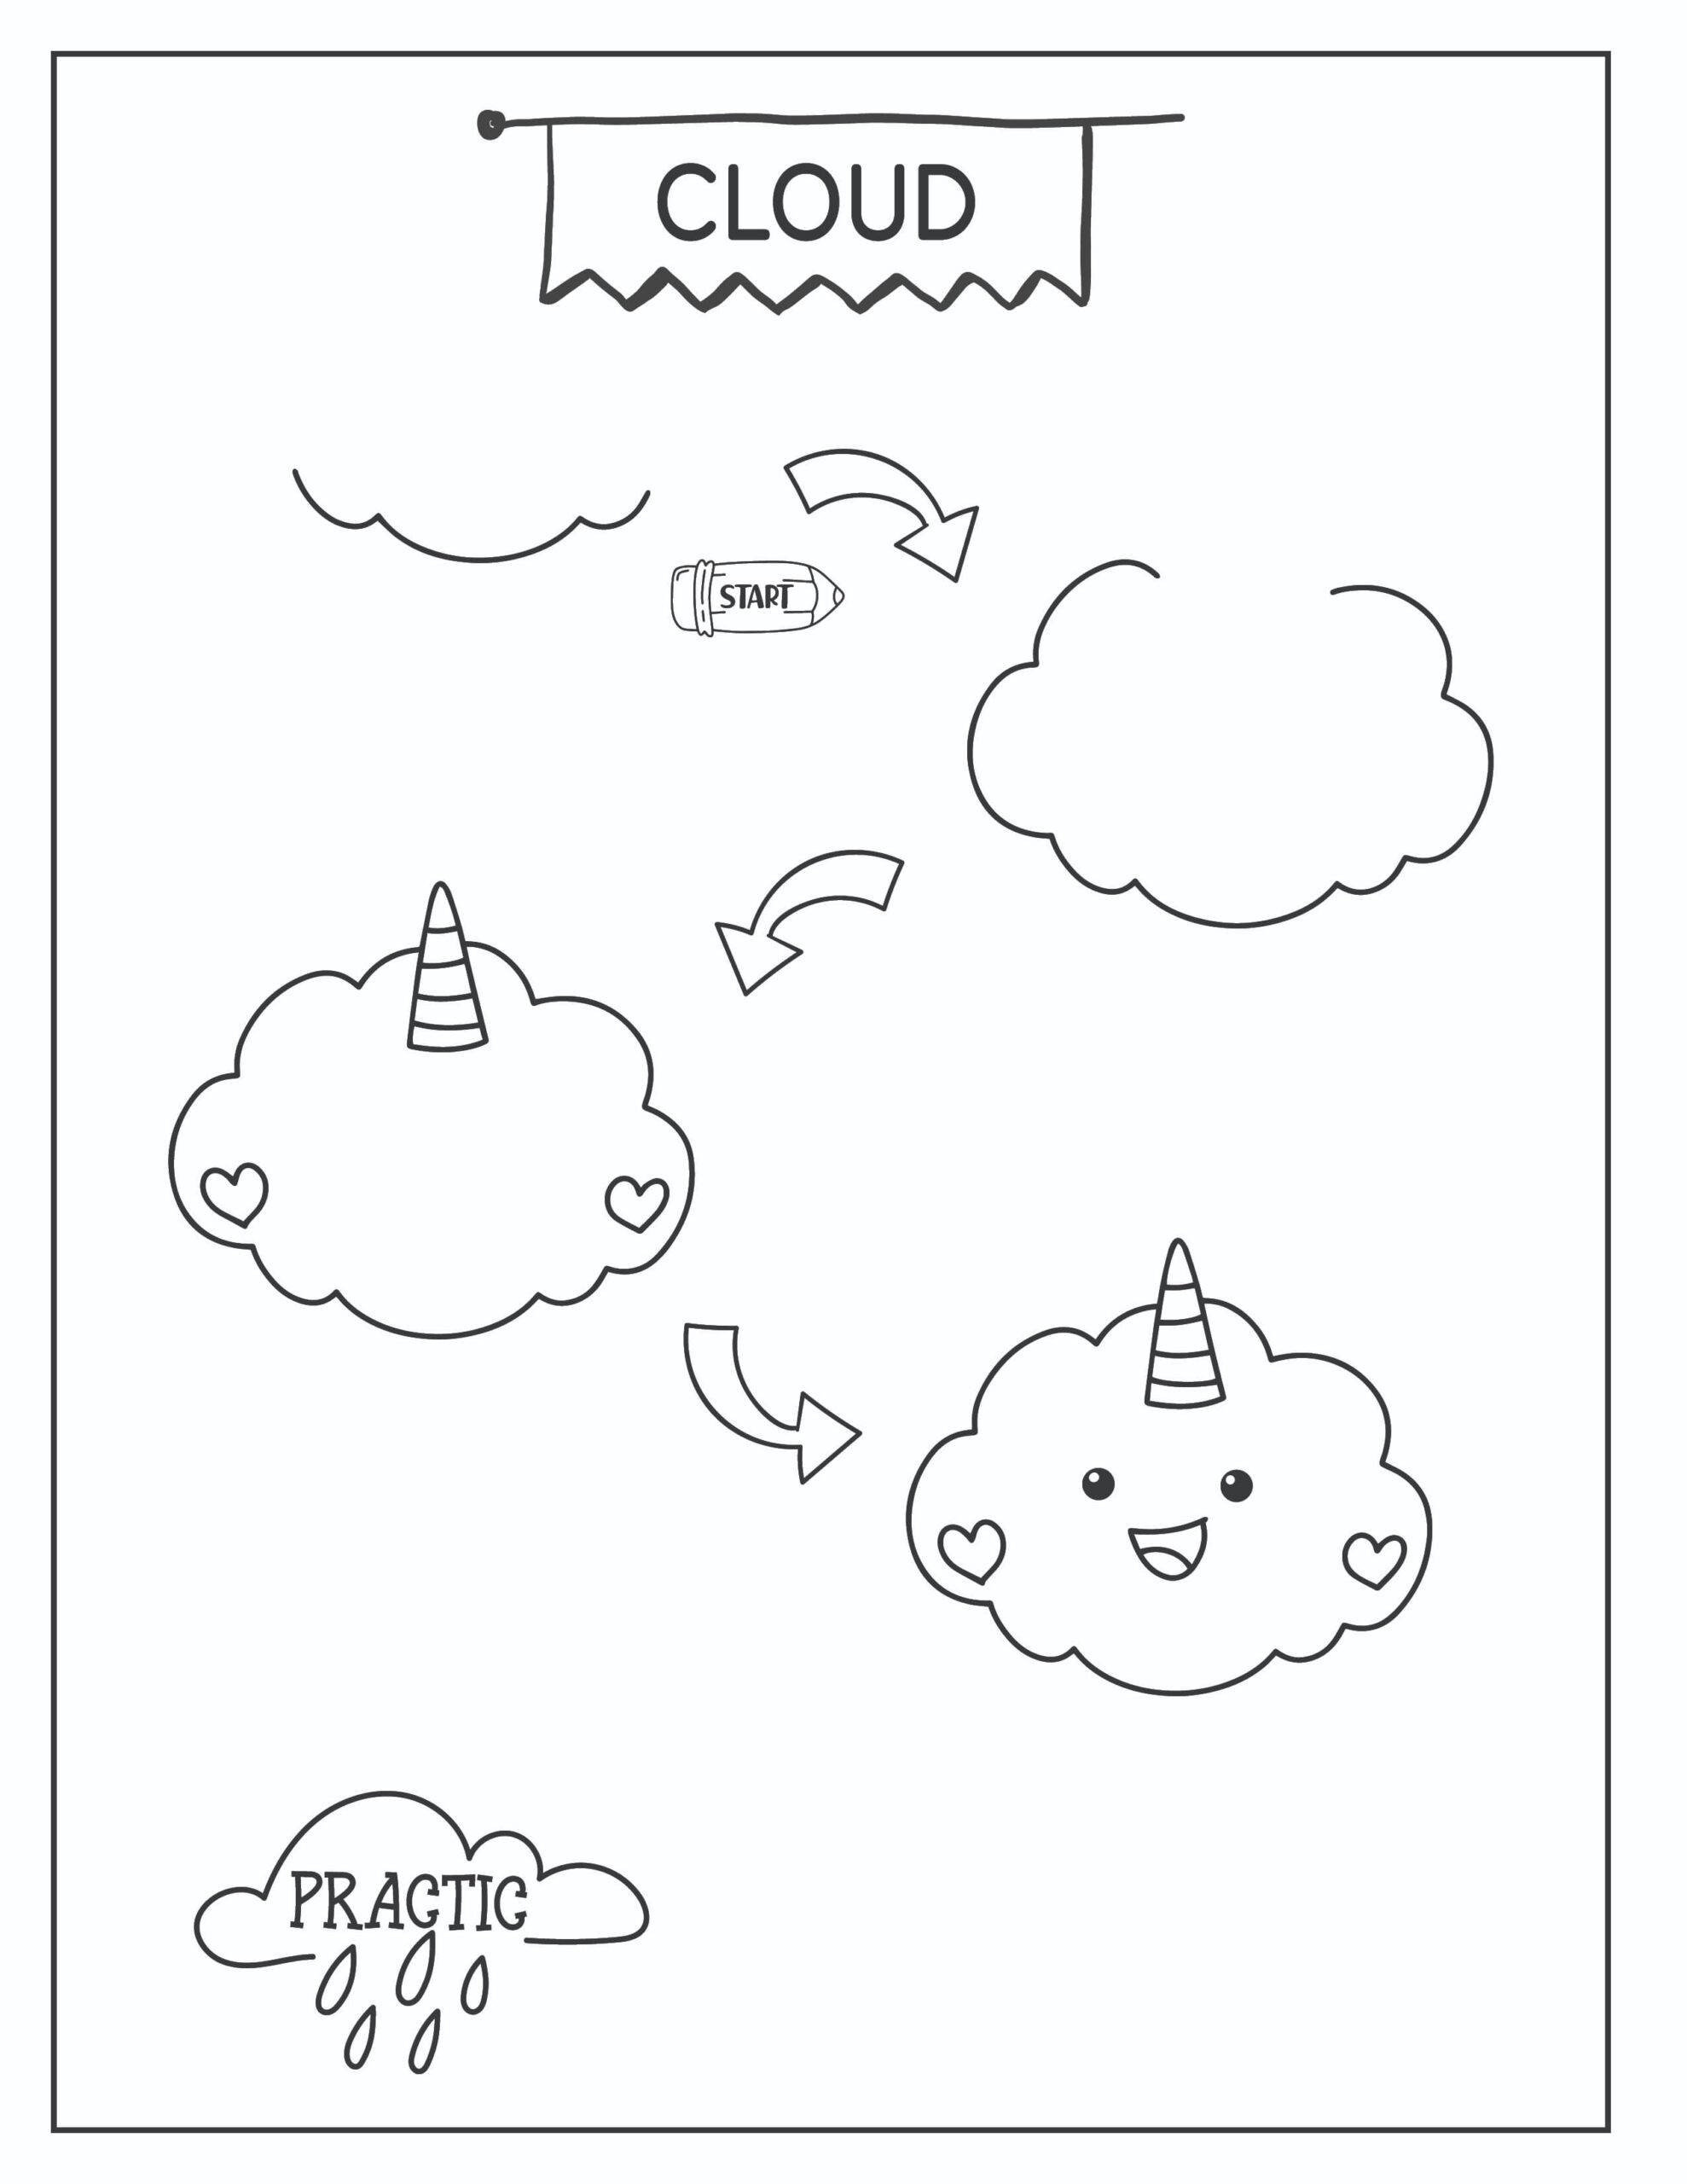
Step-by-Step Guide to Drawing Your Own Cloudicorn

Easy Step-by-Step Guide to Drawing a Cloudicorn
Creating your own Cloudicorn is both fun and simple! This step-by-step guide will walk you through the process of turning basic shapes into an enchanting Cloudicorn. Whether you’re drawing for fun or looking for cool things to draw when bored, this easy tutorial will help you create a delightful character that’s sure to bring a smile to your face. Let’s get started!

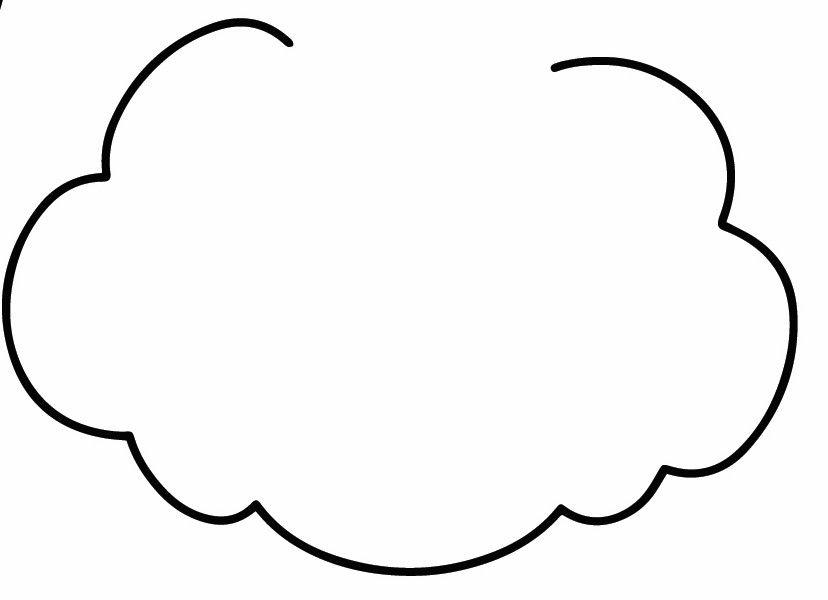
Step 1: Drawing the Basic Cloud Shape
- Begin by drawing a large, rounded cloud shape in the center of your paper.
- Make the cloud puffy with three or four rounded bumps along the top and bottom edges.
- Ensure the edges are soft and wavy, capturing the fluffy nature of a cloud.
- Don’t worry about perfection—clouds are naturally irregular, so embrace the unique curves.

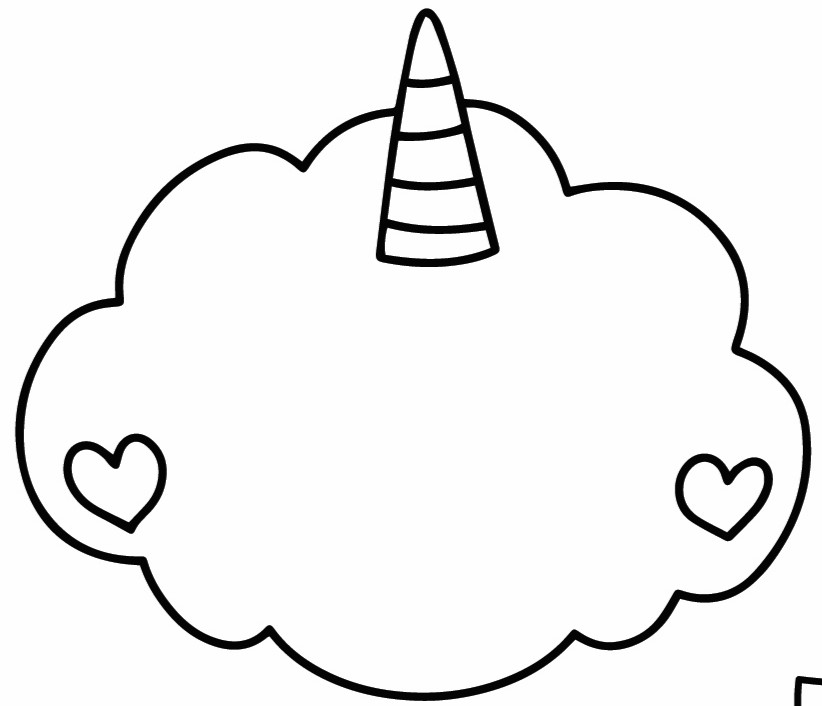
Step 2: Adding the Unicorn Horn and Hearts
- At the top center of your cloud, draw a small unicorn horn with a slightly curved, pointed shape.
- Add horizontal lines across the horn to create the signature unicorn look.
- Draw two small hearts inside the cloud, one on each side, just below the outer curves.
- Position the hearts evenly to add balance and charm to your Cloudicorn.

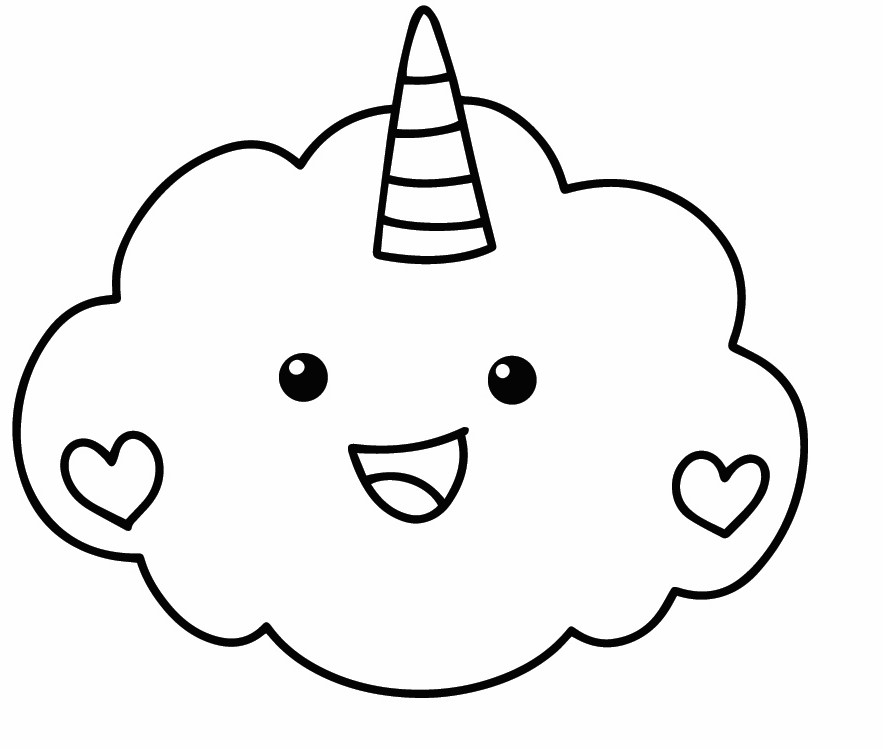
Step 3: Bringing the Cloudicorn to Life with a Face
- Draw two large, circular eyes in the middle of the cloud, spacing them evenly apart.
- Add a smaller circle inside each eye to represent the pupils, giving the eyes a shiny, lively appearance.
- Below the eyes, draw a wide, smiling mouth, making sure to add a small curve inside for the tongue.
- Darken the outlines with a pen or marker to finalize your Cloudicorn, and erase any extra pencil marks.
Drawing Tips
Use Light Pencil Strokes First: Start by drawing with light pencil strokes so you can easily adjust shapes and erase any mistakes. This makes it easier to perfect your Cloudicorn’s shape before committing to darker lines.
Keep Your Hand Relaxed: Maintain a relaxed grip on your pencil or pen to keep your lines fluid and natural. This will help create smooth, soft curves for the cloud and ensure your lines don’t look stiff or forced.
Focus on Symmetry for the Face: When adding the facial features, try to keep the eyes and mouth symmetrically aligned. You can lightly sketch guidelines to help position the eyes evenly and place the smile in the center, giving your Cloudicorn a balanced and cute appearance.
Add Details Slowly: Take your time when drawing the horn and hearts. Start with basic shapes and gradually add details, like the stripes on the horn, to avoid overcrowding your drawing or making it look too busy.
Embrace Imperfections: Remember, clouds are naturally irregular, so don’t worry if your Cloudicorn isn’t perfectly symmetrical. The charm of this doodle comes from its whimsical and unique shapes, so have fun with it!
Adding Expressions to Your Cloudicorn
Now that you’ve mastered the basic Cloudicorn, it’s time to give it some personality! Adding different expressions can bring your Cloudicorn to life, showing a range of emotions from happiness to surprise. In this section, we’ll explore three fun and easy expressions that you can use to make your Cloudicorn even more adorable and unique. Let’s dive in and give your Cloudicorn some character!
Happy Cloudicorn
How to Draw:
- Start with the basic Cloudicorn shape and features.
- Draw two large, round eyes with small circles inside for the pupils, placed towards the upper half of the eyes to create a joyful look.
- Add a wide, curved smile below the eyes. Make the smile stretch almost from one eye to the other.
- Inside the smile, add a small upward curve to represent the tongue, emphasizing the happy expression.
- You can also add small curved lines near the eyes to represent joyful cheeks.
Surprised Cloudicorn
How to Draw:
- Begin with the basic Cloudicorn shape.
- Draw the eyes as large circles, but this time make them slightly wider and more oval, with the pupils smaller and centered to create a surprised look.
- Add two small, slightly raised eyebrows above the eyes to enhance the surprised expression.
- Instead of a smile, draw a small, open circle for the mouth, positioned in the middle below the eyes. This will give the impression that the Cloudicorn is gasping in surprise.
- To emphasize the expression, you can add tiny lines above the eyebrows as if the cloud is lifting them in shock.
Sleepy Cloudicorn
How to Draw:
- Start with the basic Cloudicorn outline.
- Draw the eyes as small, curved lines (like half-moons) in the center of the cloud to make them look closed and peaceful.
- Add tiny curved lines below each eye to represent relaxed cheeks or light snores.
- Draw a small, relaxed smile, just a gentle upward curve, to show contentment.
- To complete the sleepy look, you can draw a small “Z” or two above the Cloudicorn, representing it softly snoozing.
Avoiding Common Mistakes When Drawing Your Cloudicorn
Even though the Cloudicorn is an easy and fun character to draw, there are a few common mistakes that can happen along the way. But don’t worry! Recognizing these pitfalls will help you perfect your Cloudicorn and ensure it looks just the way you want. In this section, we’ll cover two typical mistakes and show you how to avoid them.
Mistake 1: Uneven Cloud Shape
One of the most common mistakes when drawing the Cloudicorn is creating an uneven or lopsided cloud shape. If the bumps and curves of the cloud are too irregular, it can throw off the balance of your entire drawing.
How to Fix It: To avoid this mistake, start by sketching the cloud shape lightly with a pencil. Focus on keeping the bumps and curves relatively consistent in size and spacing. If you notice that one side of the cloud is larger or more crowded with bumps than the other, gently adjust your lines to balance it out. Remember, the cloud should look fluffy and soft, so take your time to create a symmetrical and pleasing shape.
Mistake 2: Misaligned Facial Features
Another common mistake is misaligning the facial features, such as placing the eyes too far apart or too close together, or drawing the mouth off-center. This can make your Cloudicorn look a bit off and detract from its overall cuteness.
How to Fix It: To ensure that your Cloudicorn’s face is well-proportioned, start by lightly drawing guidelines for the eyes and mouth. Place the eyes evenly spaced across the cloud’s center, and draw the mouth directly beneath them in the middle of the cloud. This will help you achieve a balanced and symmetrical face. If you notice that something looks off, don’t hesitate to erase and adjust the positioning until it looks just right. Taking this extra step will make your Cloudicorn look adorable and well-crafted.
Bringing Your Cloudicorn to Life with Coloring Techniques
Coloring is where your Cloudicorn truly comes to life! The colors you choose and the techniques you use can dramatically change the character’s personality and vibe. Whether you prefer traditional methods or digital tools, there’s a coloring technique here that will suit your style. In this section, we’ll explore three different ways to color your Cloudicorn: using colored pencils, markers, or digital tools. Each method has its own unique charm, so let’s dive into how you can apply them to your Cloudicorn!
Colored Pencils
How to Do It:
- Begin by selecting a range of pastel colors, such as light blues, pinks, and purples, to give your Cloudicorn a soft and dreamy look.
- Start by lightly coloring the entire cloud with a base color (like a light blue or pale pink), using gentle, circular motions to avoid harsh lines.Layer additional colors to add depth and dimension.
- For example, use a slightly darker shade to outline the cloud’s edges, and blend it inwards to create a smooth gradient effect.
- Use a white or very light-colored pencil to gently blend the colors together, softening any visible strokes.
- For the unicorn horn, choose bright, contrasting colors like yellow, orange, or purple to make it stand out.
- Add light shading on one side of each stripe to give it a 3D appearance.
- Finally, color the hearts with a vibrant color like red or pink, and consider adding a touch of white for a highlight to give them a glossy look.
Markers
How to Do It:
- Select vibrant colors that stand out, such as bold blues, purples, or pinks, for the cloud and bright yellows or oranges for the unicorn horn.
- Begin by coloring the cloud with a single, even layer of color. Markers tend to be more vivid, so apply them smoothly to avoid streaks.
- Add shading by using a slightly darker marker on the edges of the cloud and blend it quickly with the base color while it’s still wet to create a smooth gradient.
- For the unicorn horn, color each stripe with alternating bright colors, and consider using a fine-tipped marker to add detailed shading on the edges of each stripe.
- Color the hearts with a bold red or pink marker, and leave a small white spot uncolored to simulate a shiny surface.
- Remember, markers dry quickly, so work steadily to blend colors where necessary and avoid overlapping layers to prevent bleeding.
Digital
How to Do It:
- Open your Cloudicorn drawing in a digital art program of your choice, such as Adobe Photoshop, Procreate, or any app that supports layers and brushes.
- Start by filling in the base color of the cloud using the paint bucket tool or a soft brush. Choose a soft pastel color like light blue or pink to keep the fluffy, whimsical feel.
- Use layers to add shading and highlights. Create a new layer for shadows using a darker shade of your base color and set the layer mode to “Multiply” for a natural shadow effect. Use a soft brush to apply shadows around the edges and under the horn.
- Add another layer for highlights. Choose a lighter color or white and set the layer mode to “Overlay” or “Soft Light.” Lightly brush on the highlights where the light would naturally hit, such as the top edges of the cloud and the unicorn horn.
- For the unicorn horn, use bold, contrasting colors on a new layer and apply subtle gradients or shading to give it a 3D effect.
- Color the hearts with a bright red or pink on another layer, and use the “Glow” or “Outer Glow” effect to add a subtle shine around them.
- Digital tools also allow you to experiment with textures—try using different brushes to give the cloud a soft, fluffy appearance, or add a slight gradient to the background to enhance the overall look.
