Did you know hamsters are a favorite pet? Their fluffy bodies and cute faces win many hearts. This guide will help you learn to draw cute hamsters step by step, even if you’re new to art.
Hamsters have short tails, short legs, and small ears. These features make them special and fun to draw. I’ll show you how to draw these pets by focusing on their shapes and details. This tutorial is for everyone, whether you’re experienced or just starting out. You’ll learn to create adorable hamster drawings that show their charm.
Hamster Drawing: Step by Step

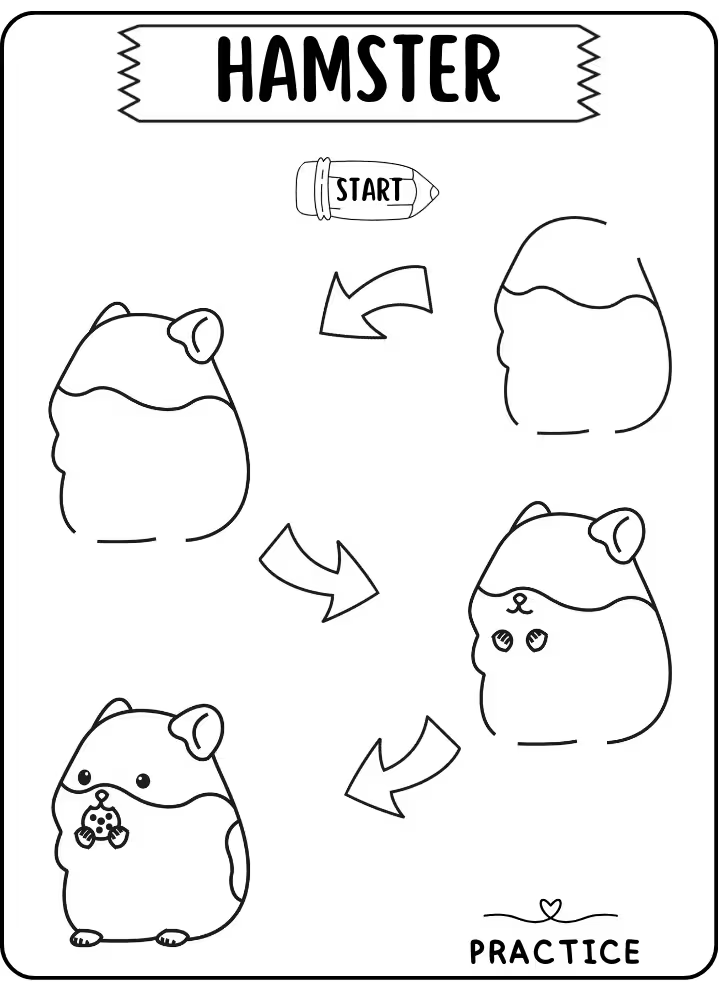
Hamsters are cute, small rodents that are fun to draw. They have short tails, small legs, and tiny ears. This makes drawing them a fun challenge. In this guide, we’ll show you how to draw a hamster step by step. This is great for both new and experienced artists.
To begin, let’s look at the basic shapes of a hamster. The head is round with big cheeks and a small nose. The body is short and fat, with short legs. The tail is small, and the ears are tiny and round. By using these shapes, you can start drawing a hamster easily.
In our easy hamster drawing tutorial, we’ll learn to draw the hamster’s face. We’ll focus on the eyes, whiskers, and mouth. We’ll also learn how to add texture to the fur. This will make your hamster drawing look real and cute.
Drawing a hamster is fun for everyone, whether you’re new or experienced. By following this tutorial, you’ll learn to draw the cutest hamster art. So, get your pencils ready and let’s start drawing!
Essential Tools for Drawing Hamsters

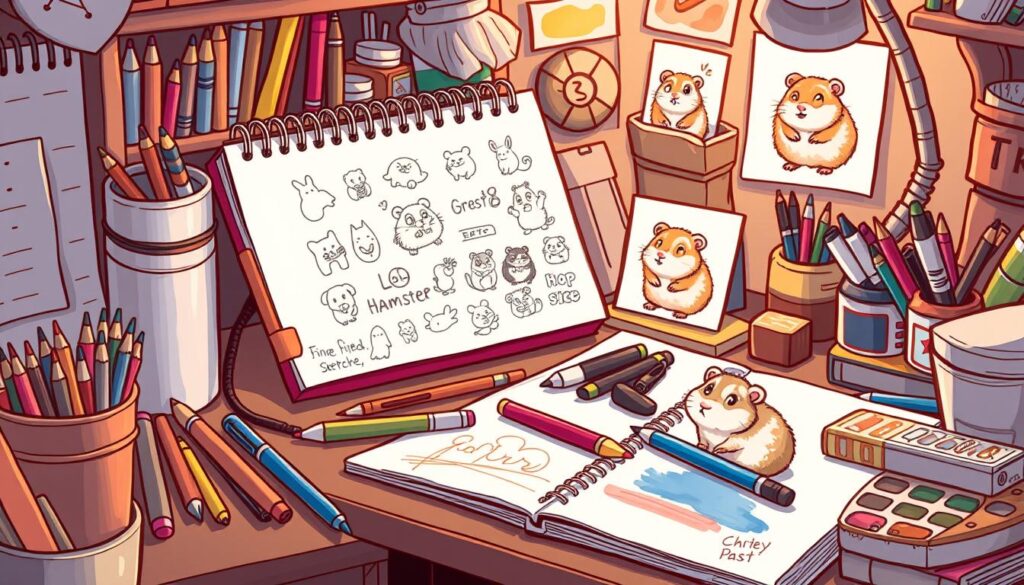
Creating amazing hamster drawings starts with the right tools. You’ll need everything from sharp lines to bright colors. This tutorial will guide you through the best supplies to use.
Begin with a Zebra Zensations Technical Pen. It has waterproof ink and various nib sizes for detailed lines. Pair it with Zebra Zensations Fineliners for smudge-proof colors. These are great for adding fine details and textures to your hamster art.
Use Hahnemühle Rough Watercolour Postcards for the perfect mix of bold lines and soft values. The textured surface of these cards helps blend the colors, giving you control over light and dark areas.
Complete your setup with a Zebra Zensations #2 mechanical pencil. It’s perfect for sketching the initial shapes and guidelines. This pencil is great for sketching, refining, and erasing as you work on your hamster drawing.
With these art supplies, you’re ready to create adorable and engaging hamster illustrations. They’ll showcase the special charm of these pets.
Breaking Down the Hamster’s Shapes

Drawing a cute hamster starts with breaking it down into basic shapes. This makes it easier to get its proportions right. The hamster’s body is mostly rounded, like a barrel.
The head is a sphere, and the ears are triangles. The body has a big circle for the torso and smaller shapes for the legs and tail. These shapes help you draw a hamster that looks real and cute.
The hamster’s fur is also important. It’s made of small shapes that give the drawing depth. By using these shapes, you can make the hamster look fluffy and fuzzy. With practice, you’ll get better at drawing the hamster drawing shapes, how to simplify a hamster for drawing, and the basic shapes in hamster illustration.
Mastering Hamster Drawing Techniques

Drawing realistic hamsters needs a sharp eye for detail and knowing their unique features. It’s key to focus on the fur’s direction and length. This helps you draw a hamster that looks real and alive.
Using hatching and blending techniques is vital for their soft fur. Light, soft strokes with pencils or fineliners build up the fur layers. Smooth blending makes the fur look seamless. Try different strokes and pressures to match your drawing style.
When coloring, be gentle. Use fineliners with light pressure and quick strokes for a natural look. Remember, the more you practice, the better you’ll get at drawing hamsters.
Work in layers and move between different parts of your drawing. This helps you create a balanced and detailed hamster. With patience and creativity, you’ll make amazing hamster drawings.
Hamster Drawing: Tips for Adorable Expressions
Creating cute hamster expressions is key to making your illustrations charming. Let’s dive into some tips and techniques to help you master this art.
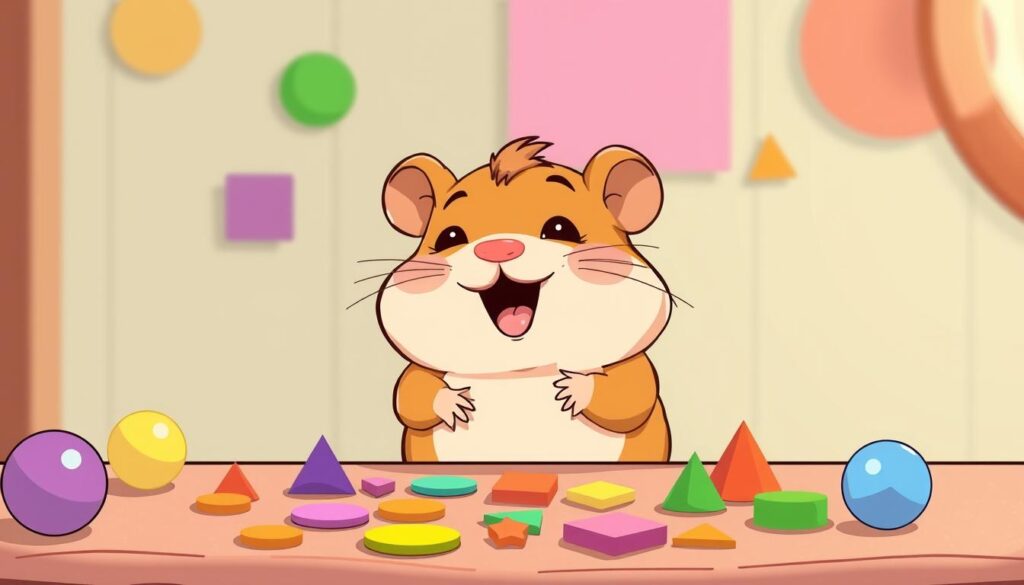
The eyes are vital in hamster facial features drawing. Focus on their placement and size, as they show the hamster’s feelings. Make the eyes a bit bigger for cuteness and add shading for depth.
The nose and mouth are also important for drawing cute hamster expressions. Try different shapes and angles to show various moods. Adjust their size and position to fit the mood you want.
Understanding the hamster’s head structure is essential for hamster facial features drawing. Notice the ears, cheeks, and proportions to make your drawing look natural.
To make your hamster drawing come alive, add details that show its personality. Play with the head tilt, back shape, and paw position to show curiosity or happiness.
By improving your skills in techniques for capturing hamster personality in illustrations, your drawings will be both beautiful and touching. Remember, practice, observation, and trying new things are the keys to success.
Bringing Your Hamster Drawing to Life with Color
| Coloring Technique | Description | Benefits |
|---|---|---|
| Hatching | Applying parallel lines to add depth and dimension to the fur | Enhances the realistic appearance of the hamster’s coat |
| Blending | Smoothly transitioning between different shades to create gradients | Captures the softness and texture of the hamster’s fur |
Coloring your hamster drawings is the key to bringing these adorable critters to life! As you explore the vibrant world of hamster art, remember that the six primary colors found in these furry pets – white, black, grey, brown, yellow, and red – can be combined in endless ways to create stunning, lifelike illustrations.
Experimenting with different coloring techniques, such as hatching and blending, is key. Hatching, or applying parallel lines, adds depth and dimension to your hamster’s fur. Blending different shades creates smooth gradients that capture the softness of their coats. Just be mindful of the green hue that can happen when using blue and yellow together – it’s all about finding the right color harmony.
Remember, the key to vibrant hamster art is all about experimenting and having fun with color. Whether you’re coloring hamster drawings for your own enjoyment or to create delightful crafts and educational materials, let your creativity shine through and bring these adorable pets to life on the page.
Beyond the Basics: Advanced Hamster Drawing Ideas
Once you’ve learned the basics of hamster drawing, it’s time to get creative. Explore hamster drawing ideas and unique hamster illustration concepts. These will help you create advanced hamster art projects that stand out.
Start by trying out different poses and settings. Picture your hamster doing fun things or against cool backgrounds. This makes your drawings more interesting and tells a story.
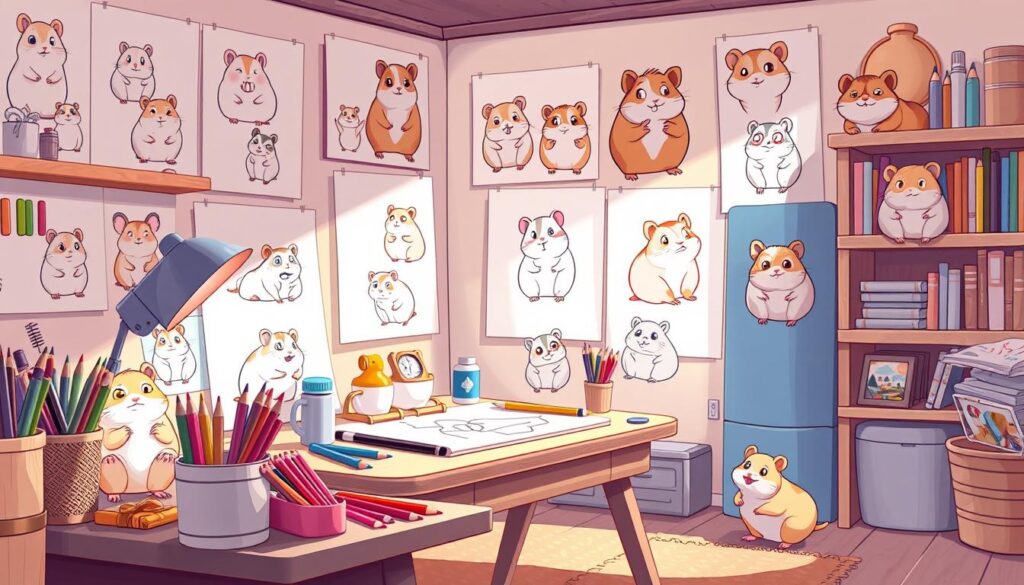
Think about making a group of hamster characters. Try different personalities and how they interact. This shows off your creativity and skill as an artist.
Also, add accessories and backgrounds to make your drawings pop. Props, patterns, or details can make your art more engaging and tell a better story.
With these creative hamster drawing ideas, unique hamster illustration concepts, and advanced hamster art projects, you’re ready to improve. Let your imagination run wild and watch your skills grow!
Resources for Practicing Hamster Art
Starting your hamster drawing journey? It’s key to have lots of resources ready. Look for online images and join art communities to improve. Social media and websites are full of hamster pictures and tips.
There are many tutorials and classes to learn from. They help both new and experienced artists. You can find guides on drawing hamsters, from basics to advanced techniques.
Dive into these resources and art communities. You’ll get better at drawing hamsters and find new ways to show your art. It’s a chance to learn, try new things, and meet others who love hamster art.
