Meet Sprinkles the Flying Cupcake: A Sweet Treat You Can Draw!
I mean, who wouldn’t want to see a cupcake soaring through the sky? Whether you’re bored or just in the mood to doodle something cute, Sprinkles is the perfect choice. Plus, you can customize it with your favorite colors and details to make it your own. Let’s get started and see where your creativity takes you with Sprinkles!
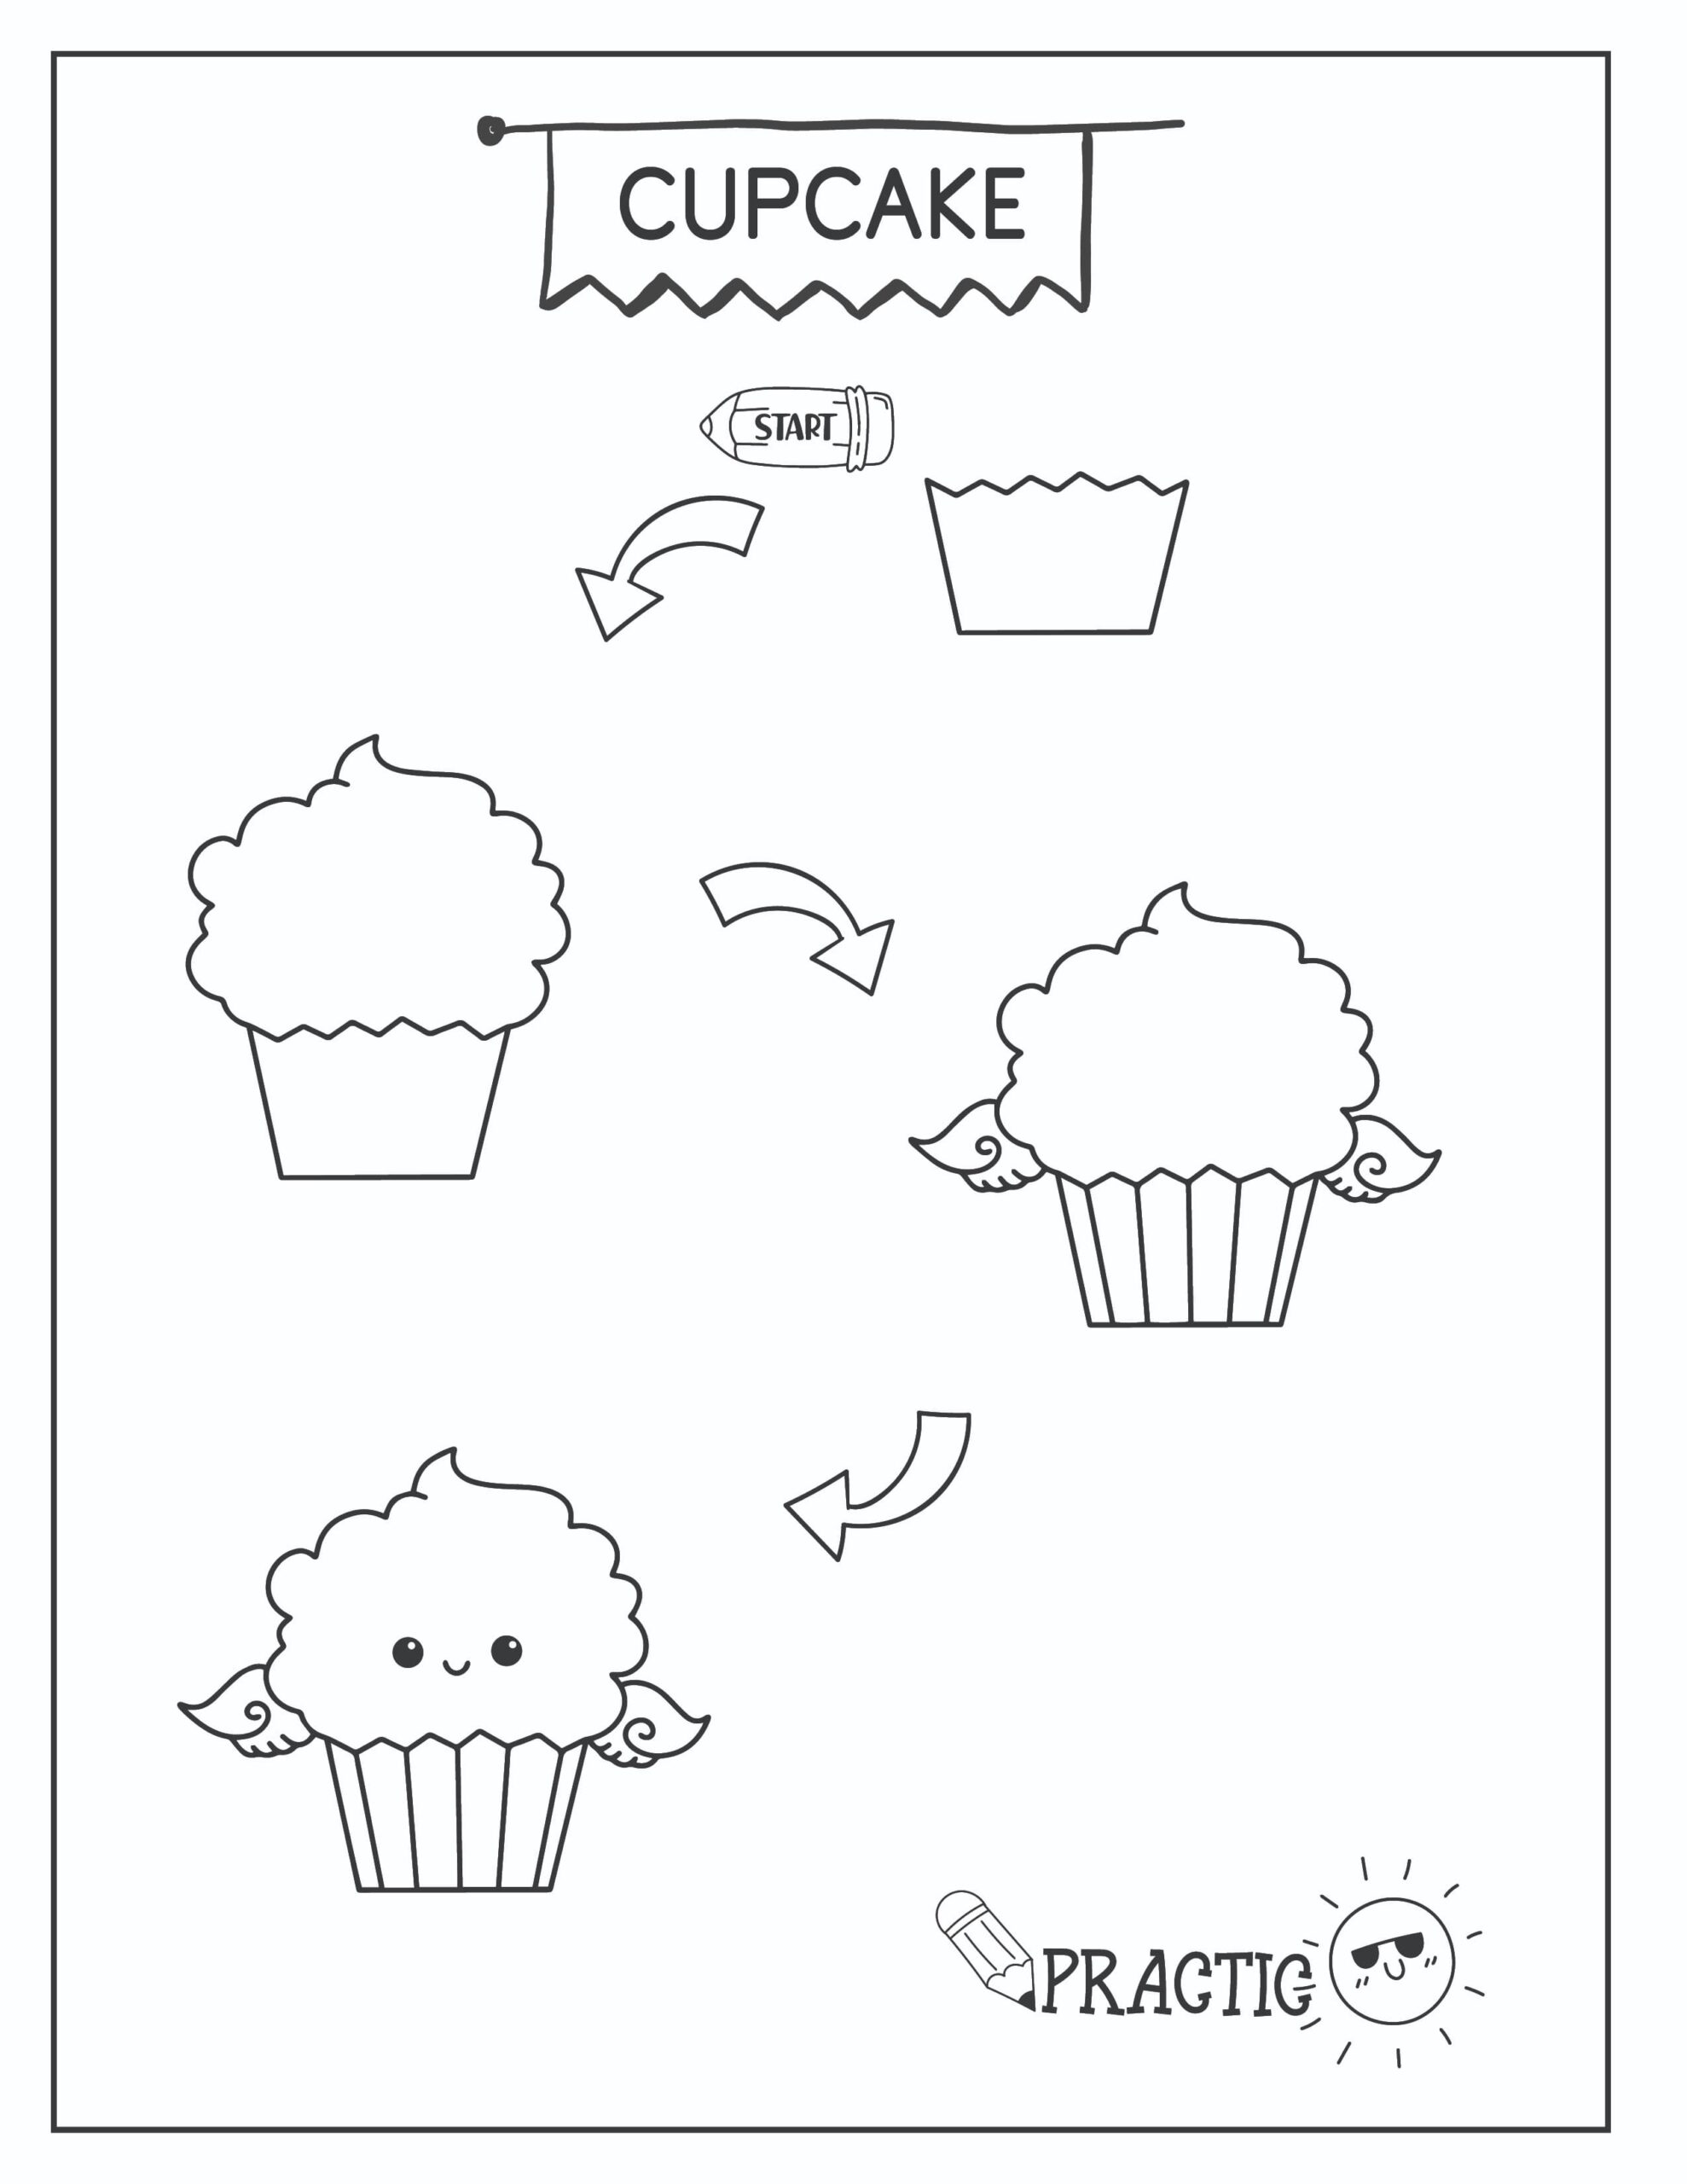
Ready to Make Sprinkles Fly? Let’s Draw This Sweet Character!
Drawing Sprinkles the Flying Cupcake is super easy and a lot of fun! With just a few simple steps, you can create a cupcake that’s not only adorable but also has wings to take it to the next level. Whether you’re a beginner or just looking for a quick and cute drawing project, this guide will walk you through each step. Grab your pencil, and let’s bring Sprinkles to life!
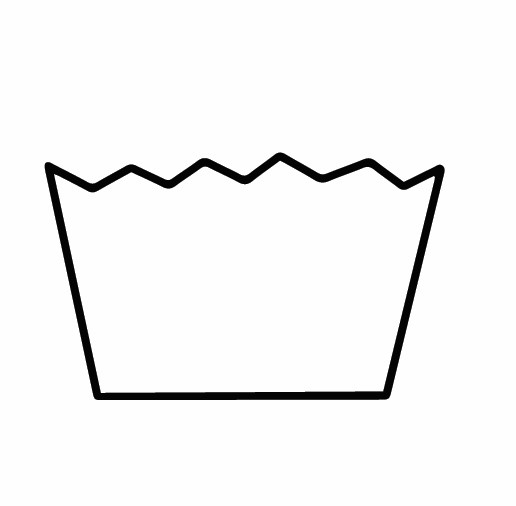
Step 1: Draw the Cupcake Base
- Start by drawing a trapezoid shape for the cupcake wrapper, with the top wider than the bottom.
- Add some zigzag lines at the top to give the wrapper that classic, crinkly look.
- This is the foundation of Sprinkles, where all the magic begins!
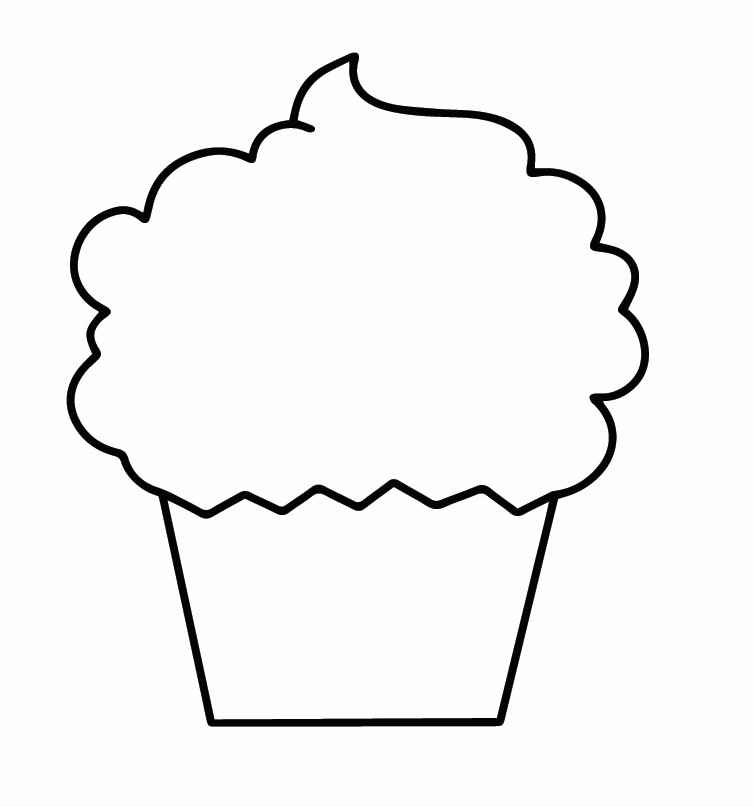
Step 2: Add the Frosting
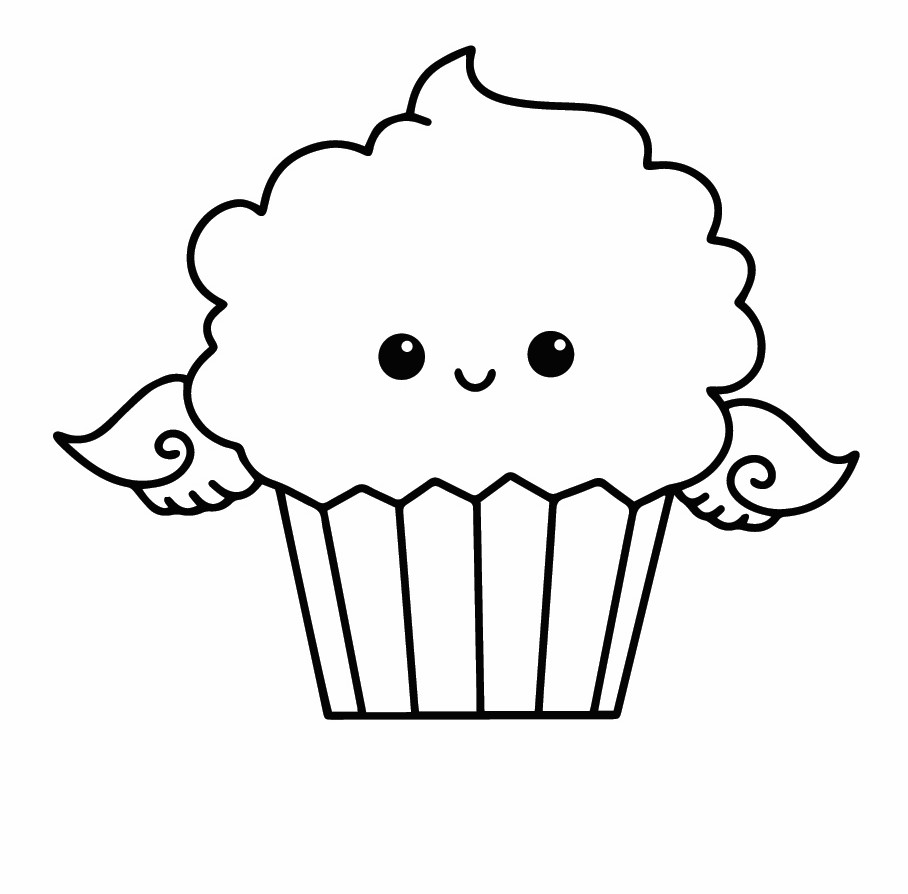
- Draw a big, fluffy cloud shape on top of the wrapper to create the frosting.
- Make sure the frosting is nice and puffy, with some curves and peaks to give it that delicious, swirled look.
- Add a little swirl at the top to finish off the frosting.
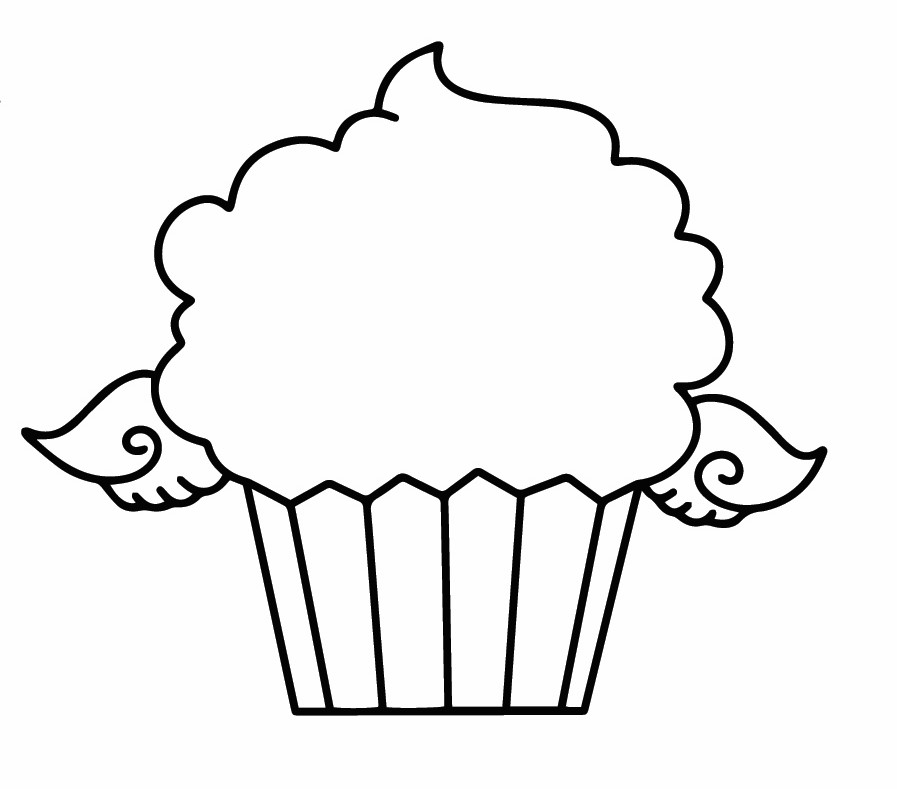
Step 3: Attach the Wings
- On each side of the cupcake, draw a small, curved wing with a little swirl at the end for a whimsical touch.
- Make the wings symmetrical, so they balance out Sprinkles and give the cupcake its flying ability.
- These wings are what make Sprinkles truly special!
Step 4: Bring Sprinkles to Life with a Face
- Draw two large, round eyes in the middle of the frosting, and add a small circle inside each for that cute, shiny effect.
- Place a tiny, curved smile right below the eyes to give Sprinkles a happy expression.
- Go over your lines with a pen or marker, and erase any extra pencil marks. Now, Sprinkles is ready to take flight!
Drawing Tips to Make Sprinkles Even Easier to Draw
Start with Light Pencil Strokes: Always begin your drawing with light pencil strokes. This way, if you need to make changes or adjust the shape, you can easily erase without leaving marks.
Break It Down into Simple Shapes: Think of Sprinkles as a combination of basic shapes—a trapezoid for the base, a cloud for the frosting, and small curved triangles for the wings. Focusing on these simple shapes makes the drawing process much easier.
Use Reference Points for Symmetry: To keep the wings and eyes symmetrical, you can lightly sketch a centerline through the middle of the cupcake. This helps you position everything evenly on both sides.
Don’t Stress About Perfection: Remember, Sprinkles is a fun and whimsical character, so don’t worry if your lines aren’t perfect. The charm of this drawing comes from its playful and unique look, so let your creativity shine!
Add Your Own Touch: Feel free to customize Sprinkles with different details, like sprinkles on the frosting or a bow on the wrapper. Adding your own creative touches makes the drawing even more special and personal!
Give Sprinkles Some Personality with These Cute Expressions!
Now that you’ve drawn Sprinkles the Flying Cupcake, it’s time to give it some personality! Adding different expressions is a fun way to make Sprinkles even more unique and full of life. In this section, I’ll show you how to create three different expressions: Happy, Surprised, and Sleepy. Each one brings out a different side of Sprinkles, making your drawing even more delightful!
Happy Sprinkles
- Start with Sprinkles’ basic face, with two large, round eyes.
- Add small, curved lines above each eye to create cheerful eyebrows.
- Draw a wide, curved smile just below the eyes, with a tiny upward curve at each corner to make the smile extra joyful.
- For extra cuteness, add small circles at the corners of the eyes to give Sprinkles that classic happy sparkle.
Surprised Sprinkles
- Begin by drawing the eyes slightly wider and more oval-shaped, to give a more open look.
- Position the pupils right in the center of the eyes to make Sprinkles look wide-eyed.
- Instead of a smile, draw a small “O” shape for the mouth, centered below the eyes, to show surprise.
- Add tiny eyebrows arched high above the eyes, emphasizing Sprinkles’ shocked expression.
Sleepy Sprinkles
- For a sleepy look, draw the eyes as small, curved lines, like closed eyelids.
- Add tiny curved lines beneath the eyes to suggest relaxed, droopy cheeks.
- Draw a small, relaxed smile, curving slightly upwards to show contentment.
- You can even add a little “Z” floating above Sprinkles to show it’s dozing off, making the expression extra cozy and sleepy.
Don’t Let These Simple Mistakes Spoil Your Cupcake!
Even though Sprinkles the Flying Cupcake is easy to draw, there are a couple of common mistakes that can sneak up on you. But don’t worry! I’m here to help you spot and fix these mistakes so your drawing turns out just right. Let’s take a look at two things to watch out for when bringing Sprinkles to life.
Mistake 1: Uneven Frosting
One of the most common mistakes is drawing the frosting unevenly, making one side look bigger or droopier than the other. This can make Sprinkles look a little off-balance, taking away from that perfect, fluffy look.
How to Fix It:
To avoid this, start by sketching the frosting lightly with soft, rounded curves that are symmetrical on both sides. You can use a guideline through the center of the cupcake to help keep everything even. If you notice one side is too high or too low, gently adjust your lines until the frosting looks balanced and even. This will keep Sprinkles looking perfectly sweet!
Mistake 2: Misaligned Facial Features
Another mistake to watch out for is placing the eyes or mouth off-center, which can make Sprinkles look a bit odd or uneven. Properly aligned facial features are key to capturing that cute and friendly expression.
How to Fix It:
To keep everything in the right place, use light guidelines to mark where the eyes and mouth should go. Make sure the eyes are evenly spaced and at the same height. The mouth should be centered directly below the eyes. If something looks off, don’t be afraid to erase and reposition until it’s just right. A little extra care with alignment will make Sprinkles look super cute and well-proportioned!
Add a Splash of Color to Sprinkles with These Easy Techniques!
Now that you’ve drawn Sprinkles the Flying Cupcake, it’s time to make this sweet character pop with color! Whether you love the traditional feel of colored pencils, the boldness of markers, or the flexibility of digital tools, coloring Sprinkles is where the real fun begins. Let’s explore three different ways to add color and personality to Sprinkles.
Colored Pencils
How to Do It:
- Add small, colorful dots on the frosting for sprinkles, and lightly shade the wings with a soft pastel to keep the overall look delicate and dreamy.
- Start by choosing soft, pastel colors for a sweet and gentle look. Light pinks, blues, and yellows work great for Sprinkles’ frosting and wrapper.
- Begin with light pressure, using small circular motions to apply the base color evenly. This technique helps avoid harsh lines.
- Layer darker shades on the edges of the frosting and wrapper to add depth and dimension. Blend these shades into the lighter base color for a smooth gradient.
- Use a white pencil to blend and soften the colors further, especially around the highlights, giving Sprinkles a smooth, creamy appearance.
Markers
How to Do It:
- Finish by adding fine details, like sprinkles or a shiny highlight on the frosting, using a lighter marker or a white gel pen for a crisp, clean effect.
- Choose bright, bold colors that will make Sprinkles stand out. Vibrant pinks, purples, and greens can give Sprinkles a fun, eye-catching look.
- Start by coloring the frosting with a solid, even layer of your chosen color. Markers are great for achieving a smooth, vibrant finish.
- Use a slightly darker marker to add shading along the edges of the frosting and wrapper. Blend quickly to avoid streaks and maintain a smooth transition.
- For the wings, use a lighter shade or even a pastel marker to keep them soft and airy, contrasting nicely with the bold colors of the frosting.
Digital Coloring
How to Do It:
- Add final details like sprinkles, glowing effects on the wings, or even a bit of sparkle to make Sprinkles look magical and ready to fly!
- Open your drawing of Sprinkles in a digital art program like Procreate, Photoshop, or any app that supports layers and brushes.
- Start by filling in the base colors using the paint bucket tool or a soft brush. Choose bright, candy-like colors for the frosting and a complementary color for the wrapper.
- Create separate layers for shadows and highlights. Use a darker version of your base color to gently brush in shadows under the frosting swirls and along the edges of the wrapper.
- Add highlights on a new layer, using a lighter color or white to gently brush in areas where the light would naturally hit—like the top of the frosting swirls and the middle of the wings.
- Experiment with different brushes to add texture to the frosting, such as a soft airbrush for a smooth look or a more textured brush for a whipped, creamy effect.
These coloring techniques let you personalize Sprinkles in your own style. Whether you’re going for a soft pastel look, bold and bright, or digitally enhanced, each method brings Sprinkles to life in a unique way. Try them all and see which one you like best!
